
Welcome to the world of homemade caramel! It’s rewarding to turn simple ingredients into a rich treat. Perfect caramel can make your desserts even better. You’ll learn how to make it in this article, from the basics to common challenges.
Making caramel involves a few key steps. We’ll show you the wet caramel method, great for beginners. It takes longer because of water evaporation, but it’s worth it for the flavors and textures. You’ll see why a golden-amber color is key for the perfect taste.
So, grab your apron, and let’s start making the perfect homemade caramel!
Key Takeaways
- Wet caramel is typically preferred by beginners for its ease of use.
- Aim for a golden-amber color to achieve the best flavor without bitterness.
- Use a light-colored pot to easily monitor the caramel’s color changes.
- Warm up cream beforehand to avoid clumping when adding to hot sugar.
- Caramel requires your full attention to prevent burning or crystallization.
- Corn syrup can help achieve a smoother texture and avoid crystallization.
Introduction to Homemade Caramel
Homemade caramel is a beloved treat that many love to make at home. It has its roots in the Arabs around 1000 A.D. Today, it’s used in many desserts, like cheesecakes and ice cream.
The taste of caramel is rich and its texture is delightful. You need to know the basics. Sugar melts at 320°F, turning into the sweet, sticky caramel we all adore.
When you make your own sauce, you can control its sweetness and texture. This lets you get creative with flavors, making your dishes even better.

Understanding the Basics of Caramel
Creating perfect homemade caramel starts with knowing the chemistry behind it. The caramelization process changes sugar when heated. As sugar heats up, it melts and turns from white to golden amber.
This color change brings out complex flavors and aromas. These are what make caramel so rich and delicious.
There are two main ways to make : wet and dry. Wet caramel uses sugar and water, but it takes longer because of water evaporation. It also risks becoming grainy, which can ruin the smoothness.
Dry caramel is quicker but needs careful watching to avoid burning. It’s drier, so it can burn easily. Cooks aim for a dark amber color to add depth to the flavor.
Sugar heats up between 115°C to 128°C (239°F to 262°F) during caramelization. At this point, it bubbles steadily instead of boiling wildly. Taking it off the heat stops cooking, but it might darken more, so timing is key.
Adding ingredients like corn syrup can help. It prevents graininess, making the caramel smoother.
Using light-colored pots helps you see color changes better. Warming cream before adding it stops clumps. Cold butter, cut into 1-inch cubes, adds a glossy finish.
Ingredients for Perfect Homemade Caramel
To make a delicious caramel, you need a few key ingredients. The right mix of these ensures your caramel tastes great and feels smooth. You’ll need granulated sugar, unsalted butter, heavy cream, and salt.
Begin with 1 cup (200g) of granulated sugar. This sugar is the foundation, turning into caramel as it melts. Then, add 6 tablespoons (85g) of unsalted butter, cut into six pieces. Using top-quality butter makes your caramel richer and creamier. Cheap butter can make it grainy.
For a smooth texture, use 1/2 cup (120ml) of heavy cream with about 36% milk fat. It should be at room temperature for easy mixing. Lastly, add 1 teaspoon of salt to boost the flavor, making your caramel even more tempting.
Remember, these ingredients work well together. The sugar melts in about 6 minutes over medium heat. Then, add the heavy cream and cook for another minute. Using a candy thermometer is important. It helps you keep the temperature at 220°F (104°C).
Understanding how each ingredient contributes is key to making great caramels. It also prepares you for trying new things and making adjustments. Choosing the best ingredients is essential for a smooth and delicious caramel every time.
Essential Tools for Making Caramel
Making perfect homemade caramel needs the right tools and cooking utensils. Good equipment makes the process better and the caramel tastier. Here are some must-haves:
- Heavy-bottomed pot: It spreads heat evenly, avoiding burns.
- Candy thermometer: A precise thermometer is key for correct temperatures, avoiding cooking mistakes.
- Silicone spatula: Great for stirring without scratching pots.
- Candy molds: Choose from polycarbonate, Teflon-coated metal, or silicone for durable, flexible caramel shapes.
These cooking utensils are not just useful; they make caramel making easier. For instance, a silicone spatula helps stir gently, which is vital for hard caramel. A candy thermometer lets you cook the caramel just right.
| Type of Mold | Material | Advantages |
|---|---|---|
| Polycarbonate | Plastic | Durable, perfect for detailed shapes |
| Teflon-coated metal | Metal | Non-stick, easy to pop out caramel |
| Silicone | Flexible rubber | Easy to clean, versatile for many shapes |
With these key caramel tools and cooking utensils, you’re ready to become a caramel expert.
The Caramelization Process Explained
The process of caramelization is a beautiful transformation where sugar heat creates a rich, flavorful product. Understanding this process is essential. Sugar starts to melt at about 320°F (160°C), marking the start of caramelization. As you increase the heat, the sugar undergoes a series of stages, revealing various colors and flavors.
Using a candy thermometer during this journey allows you to closely monitor these critical temperature points. This ensures your caramel turns out just right.
What is Caramelization?
Caramelization is an irreversible chemical reaction that occurs when sugar is heated. Different sugars have various caramelization temperatures, contributing to unique flavor profiles. For instance, sucrose and glucose caramelize at around 320°F (160°C), while fructose achieves this at a lower temperature of 230°F (110°C).
As sugar molecules break down, they produce complex flavors. These flavors enhance dishes like desserts and savory meals. Foods such as onions, garlic, and fruits also undergo caramelization to develop delicious caramel tones.
Key Temperature Points in Caramel Cooking
Knowing the key temperature points during caramel cooking is essential. Below are the significant stages of caramelization:
| Temperature (°F) | Temperature (°C) | Stage of Caramelization | Description |
|---|---|---|---|
| 320 | 160 | Melting | Sugar becomes a clear, melted liquid. |
| 340 | 171 | Light Caramelization | Liquid sugar turns light brown; becomes brittle when cooled. |
| 355 | 179 | Medium Caramelization | Caramel achieves a medium brown color; hardens when cooled. |
| 365 | 185 | Dark Caramelization | Caramel turns dark brown; remains soft and sticky when cooled. |
| 410 | 210 | Burnt Caramel | Caramel becomes black and bitter; used mainly for coloring. |
To navigate these stages successfully, a precise candy thermometer becomes an invaluable tool. Unlike wired or infrared thermometers, a candy thermometer ensures accurate readings. This minimizes crystallization risk, allowing you to focus on creating that perfect caramel.
Step-by-Step
Making caramel at home might seem hard, but with the right caramel recipe, you can get it right every time. Just follow these steps:
- Gather Your Ingredients: You’ll need 1 cup of granulated sugar, 1/2 cup of light corn syrup, 1/4 cup of water, 3/4 cup unsalted butter, and 1 1/2 cups of heavy cream.
- Prepare Your Equipment: Use a heavy-bottomed Dutch oven and a candy thermometer. A light-colored pot helps you see the caramel’s color well.
- Combine Sugar, Syrup, and Water: In your Dutch oven, mix the sugar, light corn syrup, and water. Stir gently until the sugar dissolves.
- Heat the Mixture: Bring the mixture to a boil over medium heat without stirring. Watch it closely, as it will quickly boil over.
- Monitor the Temperature: Once boiling, insert the candy thermometer. Aim for the golden-amber color at around 320°F. For lighter caramel, stop at 300°F, and for darker, go to 350°F.
- Add Butter and Cream: When your mixture reaches the right temperature, remove it from heat. Add cold butter in small cubes for a glossy finish. Then, stir in the warm heavy cream carefully to avoid clumps.
- Cool and Store: Let your caramel cool at room temperature for at least 10-15 minutes before storing. It can be kept in the fridge for up to 2 weeks or frozen as needed.
Always watch closely during cooking, as making caramel is like caring for a teething puppy. Your full attention is key to success.
How to Make Salted Caramel
Making salted caramel adds a sweet and salty twist to traditional caramel. It’s a luscious drizzle perfect for desserts. Knowing the difference between salted and regular caramel can make your cooking better.
Differences Between Regular and Salted Caramel
Regular is just sweet, but salted has a deeper flavor. It’s made the same way, but adding sea salt makes it special. Salted caramel is thicker and gooier, great for drizzling over caramel desserts.
Best Recipes for Salted Caramel Desserts
Ready to try salted caramel in your desserts? Here are some tasty ideas:
- Salted Caramel Brownies: Rich chocolate brownies with a salted caramel topping.
- Caramel Apple Pie: A twist on apple pie with a salted caramel sauce.
- Salted Caramel Cheesecake: A creamy cheesecake with a rich salted caramel flavor.
- Salted Caramel Ice Cream: Chilled ice cream with salted caramel swirls.
Exploring caramel desserts with homemade salted caramel is fun. It can make your favorite recipes even better. Try it out and enjoy!
Tips for Achieving the Perfect Texture
Getting the right caramel texture can make your desserts much better. Knowing the difference between soft, chewy caramel and firm caramel lets you create many different dishes. To avoid mistakes, keep the temperature right and use the right techniques.
Soft, Chewy Caramel vs. Firm Caramel
The caramel texture you want depends on the cooking temperature. Soft, chewy caramel needs a temperature between 230°F and 235°F. Firm caramel needs a temperature of 245°F to 250°F.
Cooking time is usually 20-25 minutes. The humidity should be below 35%. Use a pot that’s double the size of your ingredients to prevent overflow and ensure even cooking.
Common Mistakes to Avoid When Making Caramel
Many people struggle with grainy caramel or burnt flavors. Avoiding these problems means not stirring too much during heating. This can prevent grainy texture.
Using a candy thermometer helps keep the temperature right. If caramel starts to seize up, gently heat it on low for 15-20 minutes. Strain it through a fine-mesh sieve to remove sugar crystals and improve texture.
Storing and Reheating Homemade Caramel
Keeping caramel fresh is key to its taste and texture. Homemade caramel stays great for up to two weeks at room temperature. For longer, refrigerate it for a month. Always use an airtight container to keep it fresh.
Reheating caramel needs gentle care. The microwave is quick, but heat in short bursts of 10-15 seconds. Stir after each to heat evenly. On the stovetop, use low heat and stir constantly to avoid burning.
To get the best reheated caramel, warm any cream first. This prevents clumps and makes it smooth. Have all your ingredients and tools ready for a seamless reheating process.
Utilizing Caramel in Various Desserts
Caramel makes desserts sweet and irresistible. It’s easy to add caramel to your baking. This way, you can make treats that everyone will love.
Delicious Dessert Recipes Featuring Caramel
Caramel can make any dessert better. Here are some tasty ideas:
- Caramel Cheesecake: A creamy cheesecake with caramel sauce is a treat.
- Salted Caramel Brownies: These brownies are rich and topped with caramel.
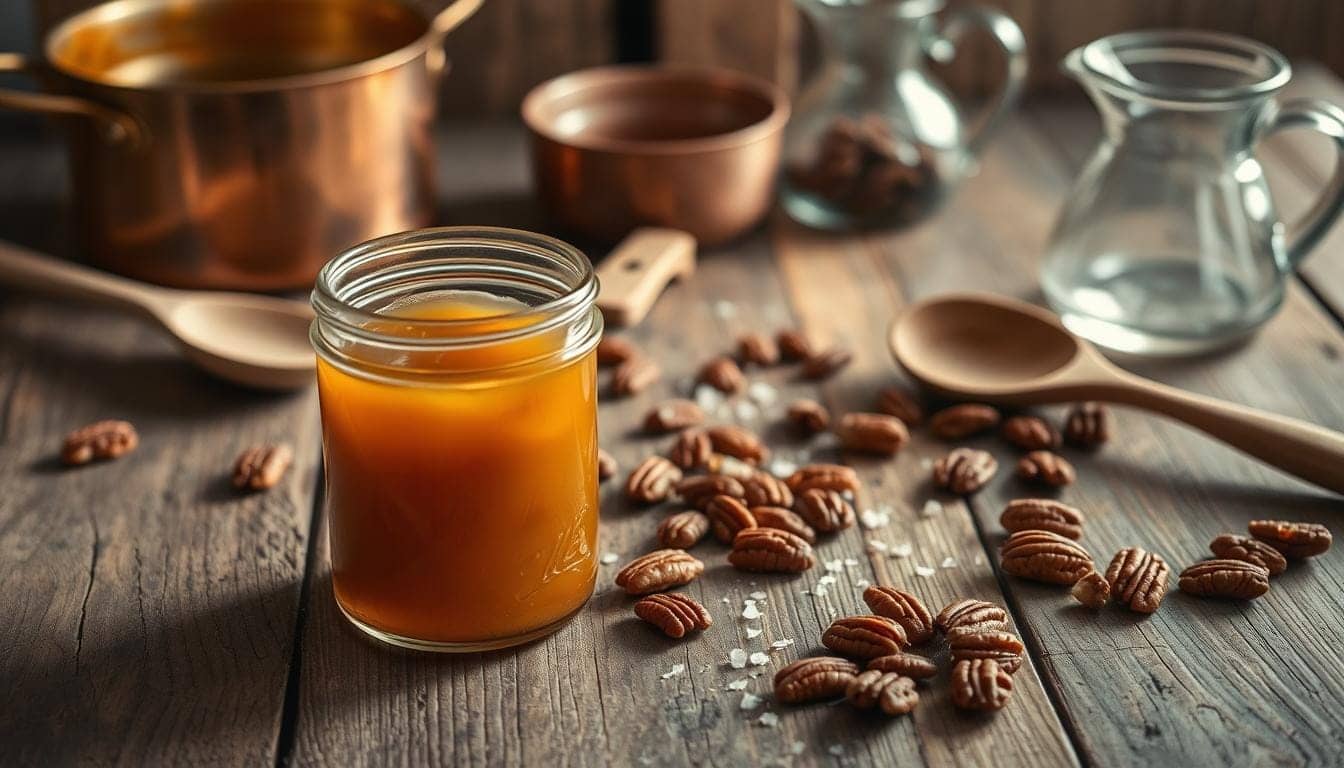
- Caramel-Pecan Pie: This pie combines caramel’s sweetness with crunchy pecans.
- Caramel Ice Cream: This ice cream is creamy and swirled with caramel.
Creative Ways to Use Caramel as a Topping
Caramel topping can make any dessert special. Here are some ideas:
- Drizzle caramel topping over ice cream for a sundae.
- Put it on pancakes or waffles for a gourmet breakfast.
- Top apple slices with caramel for a tasty snack.
- Finish chocolate cake with caramel for extra decadence.
Gifting Homemade Caramel
Giving caramel as a gift makes any event special. It’s a joy to share homemade treats with loved ones. Homemade caramel gifts show you care, creating memories that store-bought candies can’t.
Presenting your caramel in a nice jar or box makes it even more appealing. Adding a personal note or ribbon can make it extra special. Remember, homemade caramel stays fresh for weeks when kept in the fridge.
Also, make small batches to suit different tastes. You can add unique flavors or toppings to each gift. With a recipe rating of 4.95 out of 5, your caramel is sure to impress. Thoughtful packaging and personal touches make gifting caramel a heartfelt gesture.
Variations and Customizations
Creating your own caramel opens up a world of possibilities. You can try adding unique flavors and mix-ins to make it special. Want a vanilla caramel or a hint of sea salt? Personalizing your caramel can take desserts to new heights.
How to Add Flavors and Mix-Ins
Customizing your caramel is all about what you add. Here are some ideas:
- Vanilla Extract: Vanilla adds a classic touch to your caramel.
- Sea Salt: A pinch of sea salt balances sweet and salty, boosting the caramel’s flavor.
- Chocolate Chips: Stirring in chocolate chips adds richness and texture, perfect with caramel.
- Cinnamon or Nutmeg: A little spice like cinnamon or nutmeg adds warmth and depth, great for seasonal treats.
- Fruit Purees: Adding fruit purees makes fruity caramel variations, perfect for summer.
Making Caramel Candies: A Different Approach
Making caramel candies is a unique journey compared to sauce or syrup. Here’s how to make your own:
- Mix sugar, corn syrup, and heavy cream in a saucepan.
- Cook it over medium heat, stirring constantly until it hits the right temperature.
- When it reaches soft-ball stage (around 240°F), take it off the heat and let it cool a bit.
- Add your favorite caramel mix-ins or flavors before pouring into a greased loaf pan.
- Let it cool and set, then cut into squares for a tasty homemade treat.
Exploring caramel variations and caramel mix-ins leads to endless tasty adventures. Don’t be afraid to try new things and adjust as you go. This way, each creation will be a true reflection of your taste.
Understanding Common Caramel Issues
Making homemade caramel seems simple, but you might face caramel issues. Knowing these problems helps you fix them. Here are common issues and solutions, like grainy or burnt caramel, and tips to avoid overcooking.
How to Fix Grainy or Burnt Caramel
If your caramel is grainy, it means sugar crystallized. Here’s how to fix it:
- Add a small amount of water and heat it gently. This can dissolve sugar crystals. Stir until it’s smooth.
- If caramel is burnt, mix it with fresh sugar and water. Heat it until it boils gently and stir until it’s right.
Tips to Avoid Overcooking
Overcooking caramel makes it bitter and tough. Here’s how to keep it perfect:
- Use a light-colored pot to see the caramel’s color change. It’s easier to catch the right moment.
- Use a candy thermometer to check the temperature. Soft caramels need 240°F (115°C), firmer ones 250°F (121°C).
- Add butter and cream slowly to hot sugar. This prevents it from bubbling too much and overcooking.
Knowing common caramel problems helps you tackle caramel troubleshooting with confidence. With practice, you’ll make delicious caramel every time.
Frequently Asked Questions About Caramel
Many people looking to make homemade caramel have the same caramel questions. They want to know about the process, ingredients, and how to use it. Knowing these answers can make making caramel fun and rewarding.
Let’s talk about the basics of making caramel. Many ask about the shelf life of caramel sauce after it’s opened. It stays good for up to 90 days if you seal it well. If you’re thinking of buying caramel, a 9oz jar starts at $12.00. The bigger 32oz jar costs $35.00. You can also get cello bag wrapping with an apple and ribbon for $1.50.
Shipping is another thing people worry about. It’s mainly available from November to February, but might extend to March in Arizona. To get your caramel on time, order one to two weeks early, more so during the holidays. There’s a delivery fee for areas within a 10-mile radius.
Final Thoughts on Homemade Caramel Creation
Learning to make homemade caramel is an exciting journey. Every time you cook, you find new ways to improve. It’s all about choosing the right ingredients and mastering cooking techniques.
Challenges like getting the perfect texture or avoiding burns make it even more rewarding. These obstacles add to the joy of making something delicious at home.
Imagine pulling out a batch of warm, homemade caramel. It’s perfectly golden and smooth. This journey teaches you when to stir and when to let it bubble.
As you get better, try new things like salted caramel or adding unique flavors. This makes your creations truly special.
Conclusion
Making homemade caramel is more than just cooking. It’s a fun journey filled with creativity and joy. With simple ingredients and a few steps, you can make delicious caramel. It adds rich, buttery flavors to your kitchen.
Homemade caramel is very versatile. You can use it to top desserts, fill pastries, or make tasty sauces. The possibilities are endless.
When you try these caramel recipes, feel free to experiment. Add different flavors and textures to make your creations unique. Sharing your caramel with loved ones can create special memories.