
This marble cake recipe combines rich layers of contrasting flavors and colors. It creates a visually stunning dessert that’s simple to prepare. Perfect for bakers of any skill level, it’s a showstopper that mixes classic techniques with creative twists.
Whether you love chocolate and vanilla or want to explore new flavor pairings, this recipe adapts to your taste. It’s a versatile treat that can be enjoyed by all.
Key Takeaways
- Marble cake recipe blends textures and flavors for a unique presentation.
- Easy steps ensure success even for first-time bakers.
- Adaptable to favorite ingredients like fruits or nuts.
- Tips from tested baking methods improve results.
- Perfect for holidays or casual gatherings.
Introduction to Marble Cake
Welcome to the world of homemade marble cake. It’s a mix of tradition and creativity. This cake is more than just a treat; it’s a journey of flavors and visuals you can make at home. Let’s explore why it’s loved by so many.
What Makes This Cake Special
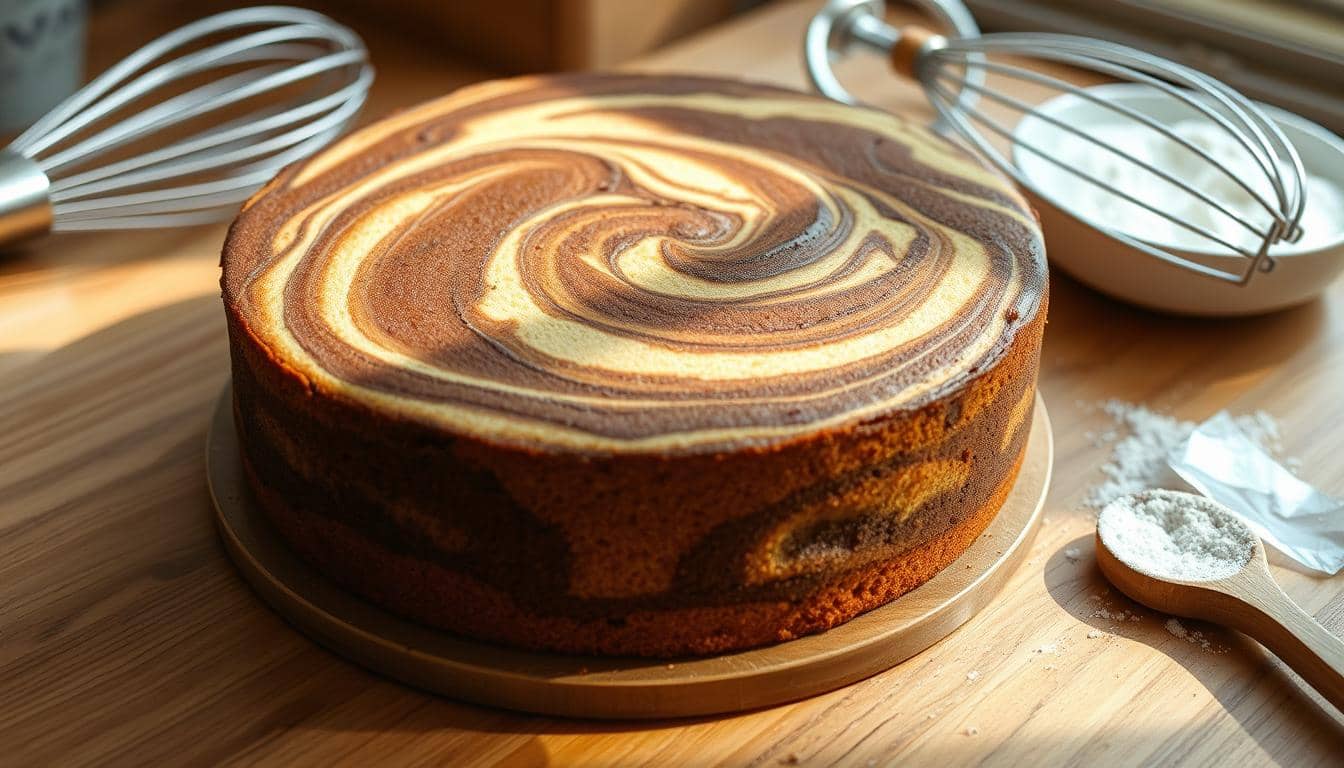
The homemade marble cake is known for its unique marbled look. Chocolate and vanilla mix in a way that’s both beautiful and surprising. It’s like Germany’s Marmorkuchen, but with a twist.
Each bite is a mix of rich chocolate and sweet vanilla. This makes the cake moist and full of flavor. Its roots are in European kitchens, but today, it gets a modern touch with ingredients like espresso or fruit.

Your First Look at the Recipe
Ready to start? Here’s what you need for your first homemade marble cake:
- All-purpose flour
- Granulated sugar
- Unsalted butter (melted)
- Large eggs
- Vanilla extract
- Cocoa powder (unsweetened)
Later, we’ll show you how to mix and bake. This homemade marble cake is easy enough for beginners. Feel free to try new layering or topping ideas as you bake!
Gathering Essential Ingredients
Every bite of marble cake starts with the right ingredients. Choose each item carefully to ensure a moist, evenly flavored result. Let’s break down what you need:
- Flour: King Arthur Unbleached All-Purpose Flour creates a light, tender base.
- Butter: Kerrygold Pure Irish Butter at room temperature ensures maximum creaminess.
- Sugar: Domino Granulated Sugar provides consistent sweetness without overpowering other flavors.
- Eggs: Vital Farms Large Eggs add structure and moisture for a fluffy texture.
- Vanilla: Nielsen-Massey Madagascar Bourbon Pure Vanilla Extract delivers deep, authentic vanilla notes.
- Cocoa: Ghirardelli Majestic Cocoa Powder gives the chocolate layer rich depth.
- Buttermilk: Organic Valley Buttermilk adds tang and moisture for a classic marble effect.
“The best cakes begin with ingredients that shine individually.” – Master Baker’s Handbook
Stick to brands like Plugrá European Style Butter for extra richness or Swans Down Cake Flour if swapping flours. Always check expiration dates and storage conditions—fresh ingredients mean better results. These choices matter: premium cocoa and real butter cut through artificial substitutes, ensuring your cake tastes homemade and indulgent. Measure precisely using dry and liquid measuring tools to keep ratios perfect for that signature marble swirl.
Preparing Your Baking Space
Turn your kitchen into a baking haven for making easy marble cake. A tidy space makes baking less stressful. It keeps everything you need within arm’s reach. Here’s how to get your kitchen ready:
Setting Up Your Kitchen
Begin by clearing your workspace. A clean area stops spills and messes. Here’s how to organize:
- Wipe down countertops and sort mixing bowls, measuring cups, and spatulas by task.
- Put baking pans on the counter and get parchment paper ready for lining.
- Keep trash bins close to throw away packaging and scraps.
Preheating and Tool Prep
Preheat your oven 10–15 minutes before mixing. Set it to 350°F for even baking. Then, get your tools ready:
- Grease pans with butter or nonstick spray for easy removal.
- Line pans with parchment for a perfect no-stick finish.
- Group dry and wet ingredients near your mixing spot.
With everything ready, you won’t rush. This prep helps your cake bake evenly and look great. Enjoy baking!
Understanding the Science Behind Baking
Ever wonder why a marble cake recipe turns out fluffy or dense? Let’s explore the baking science behind your favorite treat. Every ingredient is key in achieving that perfect texture and flavor balance.
- Leavening Agents: Baking powder and soda release gas when mixed with liquid and heat, making the cake rise.
- Fats Matter: Butter or oil trap air pockets, keeping the crumb tender. Coconut oil adds moisture; margarine boosts fluffiness.
- Moisture Magic: Buttermilk’s acidity reacts with baking soda, creating lift and tangy depth.
| Ingredient | Role |
|---|---|
| Vanilla extract | Enhances sweetness without extra sugar |
| Sour cream | Lowers pH, boosting tenderness and moisture retention |
| Flour type | Protein levels determine structure: cake flour = softer texture |
When you mix batters separately before combining, the contrasting layers form naturally—no swirling needed. Science ensures each bite stays moist and flavorful. Now you know why precision in measurements matters! Next, we’ll mix these concepts into action.
Step-by-Step Mixing Process
Getting the mix right is key for a moist marble cake that’s light and smooth. Follow these steps to avoid lumps and overmixing:
Combining Dry and Wet Ingredients
Begin by sifting dry ingredients like flour and baking powder into a bowl. This step removes clumps and adds air. In another bowl, mix wet ingredients—butter, sugar, eggs—using the reverse creaming method. This method, loved by pros, makes the cake fluffier.
- Mix dry ingredients until they’re just combined but not over-sifted.
- Beat butter and sugar until they’re light and fluffy (3-5 minutes).
- Add eggs one at a time, making sure each is fully mixed in.
| Method | Steps | Result |
|---|---|---|
| Traditional Mixing | Mix all dry, then add wet | Quick but risk of dryness |
| Reverse Creaming | Beat butter/sugar first, add eggs, then dry | Lighter texture for moist marble cake |
Achieving the Perfect Batter Consistency
Your batter should be thick but pourable, dripping slowly from a spoon. Check by dragging a spoon through it. If it spreads too fast, add a bit of flour. If it’s too thick, add a splash of milk.
Pro tip: Divide the batter into two bowls for coloring/flavoring before swirling. Avoid mixing too much after adding colors to keep it airy.
Baking Techniques for a Moist Crumb
Mastering the best marble cake recipe needs careful baking techniques. Focus on oven temperature and timing for a tender, moist cake. Start by preheating correctly and avoid overbaking. These steps are key to a perfect finish.
Oven Temperature Tips
Adjust your oven settings based on your pan type. Too hot ovens dry out the cake, while too-low temps risk undercooking. Here’s what works:
| Pan Type | Preheat Temp |
|---|---|
| Tea Loaf (12″ x 4″ x 2½”) | 350°F |
| Bread Loaf (9″ x 5″) | 325°F |
Baking Time Guidelines
- Tea loaf pans bake in 60–65 minutes.
- Bread loaf pans take 70–75 minutes.
- Always check with a toothpick—the center should come out clean.
After baking, let the cake cool in the pan for 10 minutes before transferring to a rack. Cooling too quickly can cause crumbling.
Pro tip: Use a thermometer to confirm your oven’s actual temperature. Even small fluctuations affect moisture. Stick to the guidelines, and your layers will stay soft for days.
Creating the Signature Marble Effect
The marble effect turns your cake into a work of art. This step transforms batter into a masterpiece without losing texture. Every swirl must balance precision and creativity, creating vibrant patterns that please the eye and taste buds.
“The best marble cakes have bold strokes but soft layers.”
- Piping: Fill a piping bag with one batter. Pipe alternating ropes into the pan for sharp lines.
- Layering: Pour each batter into thirds, then tilt the pan to blend edges gently.
- Knife Swirl: Drag a knife through the mixture in smooth, confident strokes.
Folding the Batters to Perfection
Fold gently with a spatula, stopping when ribbons of color appear. Overmixing creates a muddy mess—aim for visible streaks that hold their shape.
Swirling Techniques Explained
For a classic look, drizzle one batter over the other, then carve through it with a knife in slow, sweeping motions. Test patterns ideas on parchment first to refine your style.
Practice builds consistency. Each attempt teaches you how batter reacts to pressure and speed. Let your creativity guide you while respecting the recipe’s foundation.
Decorating and Finishing Touches
Turn your marble cake into a stunning centerpiece with these easy decorating tips. Let the cake cool down before adding any toppings. A sprinkle of powdered sugar adds a rustic look, while a shiny glaze makes it pop.
- Drizzle warm caramel sauce in zigzags for a rich contrast.
- Arrange fresh berries around the base to add color.
- Use a fork to create peaks in whipped cream frosting.
| Glaze Type | Ingredients | Application Tip |
|---|---|---|
| Chocolate Ganache | Heavy cream + dark chocolate | Let cool slightly before pouring |
| Vanilla Icing | Powdered sugar + milk | Spoon dollops and spread with an offset spatula |
A professional baking presentation is like the grand finale of any recipe—don’t let your efforts fade at the finish line.
— Alice Medrich, Baking Expert
For finishing touches, serve your cake on a mirrored platter for a wow factor. Add mint sprigs or edible flowers for a fancy look. Always let glaze set at room temperature to avoid smudges. Small changes can make a big difference in your dessert!
Troubleshooting Common Baking Issues
Baking a marble cake can sometimes lead to unexpected challenges. Let’s address these issues so you can create a moist, even cake every time.
Fixing Dense or Dry Cake Problems
A dry or dense marble cake often comes from simple fixes. Try these adjustments:
- Overmixing: Stop mixing once ingredients are combined. Overmixing creates tough gluten. A few lumps are fine!
- Oven temperature: Use an oven thermometer. If the oven is too hot or cold, adjust to match the recipe’s temperature.
- Moisture imbalance: Add sour cream or extra butter. Check measurements to avoid too much flour, which dries out the batter.
- Overbaking: Test with a toothpick 5-10 minutes early. Pull it out when the toothpick comes out clean.
Dealing with Uneven Baking
Uneven baking can be fixed with these steps:
- Oven hot spots: Rotate the pan halfway through baking for even heat exposure.
- Pan size and material: Use the right pan size. Fill pans two-thirds full. Dark pans may need lower temps.
- Pan placement: Center the pan on the middle rack to avoid edge hot spots.
Adjust these steps to avoid common pitfalls. With these tips, you’ll master a perfectly balanced marble cake every time.
Variations and Flavor Enhancements
Ready to elevate your marble cake from scratch? Try new flavors and textures to make it your own. Here’s how to add a personal touch to every bite.
Try these additions to your batter:
- Raspberries: Fold in fresh or frozen berries for bursts of tartness in vanilla batter.
- Walnuts: Toasted and chopped walnuts add a satisfying crunch to chocolate-vanilla swirls.
- Dark chocolate chips: Create a triple-layer flavor with vanilla, chocolate batter, and melted bits folded in.
For a modern look, drizzle marbled icing over a fondant-covered cake. Pour un-stirred colored icing to create natural swirls.
Enhance your final presentation with these frosting ideas:
| Option | Ingredients | Flavor Profile |
|---|---|---|
| White chocolate glaze | Confectioners’ sugar, milk, melted white chocolate | Sweet and creamy |
| Whipped ganache | Dark chocolate, heavy cream | Luxurious and rich |
| Marble drip | Icing sugar, corn syrup, food coloring | Artistic and vibrant |
Whether you add tangy citrus zest or drizzle salted caramel, each change makes your cake special. Let these ideas spark your next baking project!
Healthy Twists on Your Marble Cake
Do you love marble cake but want a healthier version? Making a few simple changes can cut calories and add nutrients. You can keep the flavor without sacrificing taste. Here’s how to make your marble cake healthier:
| Traditional Ingredient | Healthy Substitute | Benefits |
|---|---|---|
| Butter | Margarine with Healthier Choice Symbol | Cuts saturated fat by up to 53%. |
| White sugar | Equal Gold or Monk Fruit Sweetener | Cuts sugar content while keeping sweetness. |
| Whole eggs | Egg whites or chia seeds | Reduces cholesterol and adds fiber. |
| Oil | Unsweetened applesauce | Cuts fat by 70% while keeping moisture. |
| Regular flour | Whole wheat flour | Increases fiber and nutrients like iron and B vitamins. |
Try using low-fat Greek yogurt instead of sour cream for extra protein. Cocoa nibs can replace chocolate chips for a crunchy, antioxidant-rich snack. Start by replacing half of the ingredients to keep the texture right. For example, mix ½ whole wheat with ½ all-purpose flour to adjust to the new taste.
Pro tip: Use ¼ cup oil and replace it with mashed banana or avocado. This adds natural sweetness and healthy fats. These tweaks make your marble cake lighter but just as moist and delicious. Your taste buds will love it!
Serving Suggestions and Presentation Ideas
Once your simple marble cake recipe is ready, presentation matters a lot. Make your cake a standout with these serving and styling tips.
Pairing with Your Favorite Beverages
- Enjoy with a hot cup of coffee or English Breakfast tea.
- Try it with cold milk for a classic dessert.
- For special occasions, pair it with sparkling apple cider or a light white wine.
Plating and Garnishing Tips
Choose a plain white plate to highlight the cake’s swirls. Add powdered sugar or cocoa powder for contrast. Here are some ideas:
- Place a small mint leaf or edible flower near the edge of the slice.
- Drizzle chocolate ganache along the plate’s side for a modern look.
- Stack slices on a tiered stand for a stunning display at parties.
Emphasize the cake’s marbled layers by slicing it cleanly. Serve each piece on fresh berries or rosemary. Let your creativity run wild—this simple marble cake recipe is sure to impress!
Storage and Shelf Life Tips
Keeping your marble cake fresh and moist is easy. Just follow these tips to keep it good for longer.
- Let the cake cool completely before wrapping to prevent condensation.
- Wrap tightly in plastic wrap, then add a layer of aluminum foil for extra protection.
- For short-term storage (3-4 days), keep it at room temperature in an airtight container.
Freezing can keep your cake fresh for 2-3 months. Before you freeze it, brush the layers with simple syrup. This keeps the cake moist. Slice it into portions, wrap each slice in plastic wrap, and then put it in a freezer-safe bag. This keeps the cake from getting freezer burn and keeps its texture.
Tip:Thaw frozen marble cake at room temperature for 2-3 hours. Avoid microwaving to retain its soft crumb.
- Place wrapped cake on a wire rack to allow even airflow.
- Store in the coldest part of the freezer to slow crystallization.
Don’t stack heavy items on top of your cake. This can make it soggy. Also, check the container often for moisture. If you find any, rewrap the cake. With these steps, your marble cake will stay moist and delicious, whether you eat it right away or thaw it later.
Mastering the marble cake recipe Technique
Getting the simple marble cake recipe right starts with timing. Every step, from mixing to cooling, needs careful pacing. This helps avoid mistakes. Let’s look at how to balance speed and patience for the best results.
Baking Timeline and Pacing
- Mix the batter in 10 minutes to avoid overmixing. Overmixing can dry out the cake.
- Layer the batters right after mixing. This keeps the colors bright and swirls sharp.
- Bake for 25-30 minutes. Use a toothpick to check if it’s done without overbaking.
- Cool the cake in the pan for 10 minutes before moving it. Rushing can cause cracks.
Avoiding Common Pitfalls
Common mistakes like uneven browning or a dense texture often come from rushing. Here’s how to fix them:
- Overmixing: Mix until the dry ingredients just disappear. Stop before it gets too smooth.
- Uneven Swirls: Pour the batter slowly into the pan while tilting it. This spreads it evenly.
- Cooling Too Fast: Don’t frost it right away. Let it rest to prevent sogginess.
Mastering the simple marble cake recipe means trusting the process. Adjust your pace to fit each step’s needs. With practice, your layers will be perfect every time.
Sharing Your Baking Journey
Once your marble cake is just right, it’s time to share it. Every step, from mixing to swirling, has a story. Here’s how to share your baking wins with others.
Documenting Your Experience
Record your baking moments. Try these ideas:
- Take close-up shots of the marble pattern before baking.
- Write a short blog post detailing flavor tweaks or time-saving tips.
- Use hashtags like #MarbleCakeMagic or #BakingJourney on social media.
Engaging with the Baking Community
Join online forums like King Arthur Baking Community or Instagram groups. Share your marble cake recipe and ask for feedback. Pro tip: Comment on others’ posts to start conversations about techniques or ingredient swaps.
Every post about your marble cake recipe helps grow a community of home bakers. Whether it’s your first success or a family recipe, your voice is important. Happy sharing!
Conclusion
Mixing ingredients and perfecting the swirl are key to a great marble cake. This recipe teaches you how to bake with precision. It helps you make a moist cake with vibrant layers.
Whether you stick to classic flavors or try new ones like almond flour, the results are amazing. Each method ensures your cake is rich and tastes balanced.
Always trust the baking process. Make sure your oven is preheated right, bake for the right amount of time, and swirl the batter with confidence. If you run into problems, don’t worry. The tips in this guide can help you fix them.
Your cake will be a masterpiece, perfect for any occasion. It shows off your creativity and skill.
Share your cake’s photo online or try new ingredients in the recipe. Baking communities love to share and learn from each other. With this guide, you’re ready to make a dessert that everyone will love. Happy baking!