
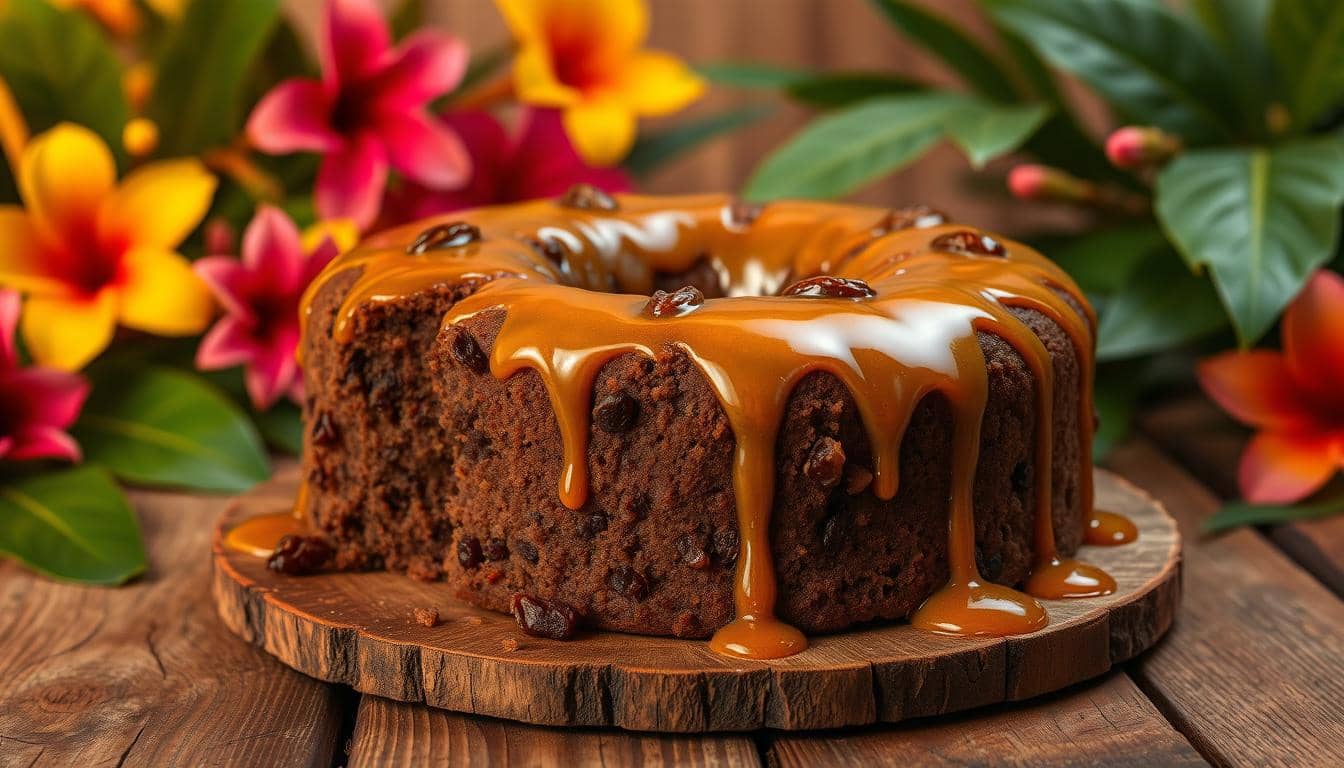
This rich, flavorful Black Cake recipe is a Caribbean treasure, often served during holidays and special occasions. With deep cultural roots, it combines soaked dried fruits, dark rum, and a unique burnt sugar essence for an unforgettable taste. Your kitchen will soon smell like a tropical celebration!
Preparing this delicacy takes time—about 72 hours—but the result is worth it. The recipe yields 3-4 cakes, perfect for sharing with loved ones. You’ll blend prunes, dried cherries, and other fruits soaked in rum for days, creating a moist, dense texture.
Follow our step-by-step guide to master this traditional treat. We’ll share pro tips to ensure your version turns out perfectly every time. Get ready to impress with a dessert that’s as special as the memories it creates.
Key Takeaways
- A cherished Caribbean dessert with deep cultural significance
- Requires 72 hours of preparation for optimal flavor
- Yields multiple cakes, ideal for gatherings
- Features soaked dried fruits and dark rum
- Burnt sugar adds a distinct caramelized taste
What Makes Black Cake Special?
Generations have cherished this dessert, passing down techniques like precious heirlooms. Its rich flavors and cultural weight make it more than just a sweet—it’s a legacy.

A Caribbean Tradition
This treat traces its roots to 18th-century British plum pudding. Enslaved Africans in the Caribbean reinvented it, swapping European ingredients for dark rum and burnt sugar. These changes reflected local resources and colonial history.
Families often soaked fruits for years in dedicated buckets. Some still use great-grandmother’s soaking mixtures today. At weddings or Christmas, it’s an edible symbol of love and endurance.
Why It’s Worth the Effort
Patience is key. The fruits soak for months, melding flavors into something extraordinary. Unlike dry American fruit cake, the rum keeps it moist and dense.
| Feature | Caribbean Black Cake | American Fruitcake |
|---|---|---|
| Texture | Rum-infused, moist | Often dry, crumbly |
| Aging | Months (or years) | Weeks |
| Key Ingredient | Burnt sugar, rum | Candied fruit, nuts |
Every bite carries history. That’s what makes it unforgettable.
Gathering Your Ingredients
The magic of this Caribbean delicacy starts with quality ingredients. Each component adds layers of flavor, from plump dried fruits to aromatic spices. Here’s what you’ll need to create an authentic taste.
Dried Fruits and Booze
Soaked fruits are the heart of this dessert. For 48 servings, combine:
- 1 lb prunes (pitted)
- 1 lb dark raisins
- ½ lb golden raisins
- 1 lb currants
For the liquid, dark rum like Appleton Estate or Wray & Nephew works best. Prefer a kosher option? Swap rum for Manischewitz Concord grape wine.
Dry Ingredients
Measure these staples for the batter:
| Ingredient | Purpose |
|---|---|
| All-purpose flour | Structure |
| Baking powder | Lift |
| Spices (nutmeg, cinnamon) | Warmth |
Wet Ingredients and Spices
Use light brown sugar for burning into caramel and dark brown sugar for the batter. Unusual adds like Angostura bitters and lime zest brighten the flavor.
Preparing the Fruit: The Key to Flavor
Flavor development begins long before mixing the batter. How you handle the dried fruits determines your dessert’s final character. Traditional methods recommend soaking for months, but we’ll show you both classic and accelerated approaches.
Mastering the Soaking Process
For authentic results, start soaking your fruit mixture at least 2 days ahead. Combine equal parts rum and brandy—the alcohol acts as both preservative and flavor carrier. Higher-proof spirits (over 80%) require less soaking time.
Layer your ingredients in this order:
- Dried fruits (prunes, raisins, currants)
- Citrus peels (orange or lime zest)
- Liquor mixture (1 cup total per pound of fruit)
“Never use metal containers—they react with acids in the fruit. Glass or food-grade plastic preserves flavors best.”
Blending Techniques Matter
After soaking, you’ll need powerful equipment. A Ninja or Vitamix blender creates the ideal chunky paste texture. Pro tip: Add ¼ cup of soaking liquid to help the blades move smoothly.
For time-crunched bakers, the quick-soak method works:
- Boil fruits for 10 minutes to soften
- Drain and soak in warm liquor for 24 hours
- Blend with 2 tbsp burnt sugar syrup
Whichever method you choose, remember: Good things come to those who wait. Those extra days of soaking fruit make your final creation truly special.
The Ultimate Black Cake Recipe
The transformation from simple ingredients to a masterpiece begins here. Three techniques—caramelizing sugar, creaming fats, and perfect blending—turn soaked fruits into a legendary dessert. Follow each step carefully for that signature moist texture and complex flavor.
Making the Browning Sauce
Authentic color and depth come from the burnt sugar technique. Heat 1 cup light brown sugar in a heavy pan until it smokes lightly. Carefully add ¼ cup boiling water (stand back—it will splatter!).
Stir constantly until dissolved. For convenience, Grace brand browning works too. Want extra richness? Swap 1 tbsp molasses for part of the sugar.
Creaming Butter and Sugar
This step traps air for the perfect rise. Beat 2 cups butter with 2 cups dark brown sugar for 5-7 minutes. Properly creamed mixture passes the ribbon test—when lifted, it should fall in a thick, slow stream.
| Method | Time | Visual Cue |
|---|---|---|
| Hand mixer | 8-10 mins | Pale yellow |
| Stand mixer | 5-7 mins | Fluffy peaks |
Mixing the Batter
Add ingredients in this order for even distribution:
- 6 eggs (one at a time)
- Zest from 1 lime
- 2 tsp vanilla + 1 tsp bitters
Fold in 4 cups flour and 2 tsp baking powder last. Stop mixing when just combined—overworking creates toughness. Your batter should look like melted milk chocolate with visible fruit specks.
Let it rest 2 hours before baking for flavors to marry. This patience pays off in every slice.
Baking Your Black Cake to Perfection
Your oven becomes the stage where soaked fruits transform into a moist masterpiece. Proper preparation and controlled heat ensure even cooking without cracks or dryness. Follow these steps to achieve that signature dense texture.
Prepping the Pans
Line pans with parchment paper in a double layer—butter between sheets acts as adhesive. This prevents sticking and allows easy removal. For round pans, cut circles slightly larger than the base.
Low and Slow Baking
Start at 250°F (1 hour), then reduce to 225°F (2-3 hours). This gradual approach prevents doming. Place a water pan on the lower oven rack to create steam, keeping the surface supple.
| Temperature | Duration | Purpose |
|---|---|---|
| 250°F | 1 hour | Sets structure |
| 225°F | 2-3 hours | Deepens flavor |
Testing for Doneness
Insert a toothpick at the 3-hour mark. Clean up? It’s done. Sticky crumbs? Give it 15 more minutes. Let it rest in the pan for 10 minutes before transferring to a rack. This cool-down period prevents crumbling.
Finishing Touches for Maximum Flavor
Proper post-baking techniques lock in moisture and intensify flavors. These final steps ensure every bite carries the rich, complex taste this dessert deserves. From precise rum application to patient resting, your attention to detail now pays delicious dividends.
Brushing with Rum
Create a crosshatch pattern on the warm surface using a fork. This allows the spirit to penetrate deeply. For best results:
- Use a pastry brush—it offers better control than spray bottles
- Apply J. Wray & Nephew Red Label in 3 thin layers
- Wait 15 hours between applications
| Application Method | Pros | Cons |
|---|---|---|
| Pastry brush | Even coverage | Slower process |
| Spray bottle | Quick application | Uneven absorption |
Letting It Soak
Flavors mature beautifully over time. For accelerated aging, wrap the cooled dessert in rum-soaked cheesecloth. Store it in an airtight container with ½ cup Red Label wine at the base.
“Tastes best after 3 days—the waiting game rewards patience with deeper caramel notes.”
Rotate it daily to distribute liquids evenly. Whether serving immediately or saving for later, these finishing touches guarantee unforgettable results.
Storing and Aging Your Black Cake
The journey doesn’t end when baking finishes—preservation is key. Proper techniques maintain moisture and deepen flavors over time. Whether keeping it for weeks or months, these methods ensure every slice tastes fresh.
Keeping It Fresh at Room Temperature
For short-term storage (up to 30 days), room temperature works best. Use the triple-wrap method:
- First layer: Parchment paper
- Second layer: Aluminum foil
- Final layer: Airtight container
“Never refrigerate—the cold dries out fruits faster than room temperature storage.”
Long-Term Freezing Solutions
Freezing extends enjoyment up to 6 months. Slice before freezing for easy portioning. Wrap individual pieces using the same triple-layer technique.
| Storage Method | Duration | Quality Tip |
|---|---|---|
| Room Temp | 1 month | Spritz with rum weekly |
| Frozen | 6 months | Thaw overnight at 70°F |
Revive thawed slices with a 1:1 rum/simple syrup spray. The sugar helps restore texture while the alcohol boosts flavor. Your patience will reward you with even richer tastes.
Conclusion
Your patience and care create a timeless treat that connects generations. Remember: soaking fruits for months builds depth, while low heat keeps it moist. A final rum brush seals in flavor.
Honor tradition or make it yours—try coconut rum or orange zest twists. Wrap slices in wax paper for edible gifts that wow.
Ready to share? Post your creation with #CaribbeanChristmas. Every bite celebrates heritage—and your kitchen magic.