
Craving a treat that’s as fun to make as it is delicious? Mini chocolate chip cookies are the answer! These small treats have chewy centers, buttery edges, and melty chocolate in every bite. They’re perfect for movie nights or holiday parties.
With just three steps—mixing, shaping, and baking—you can make 140+ cookies in under an hour. They’re simple and satisfying to make.
These cookies are great for sharing or snacking. They stay fresh for days. Made with real ingredients like unsalted butter, mini chocolate chips, and flaky salt, they’re indulgent yet easy to make.
Even if you’re new to baking, you can make these bite-sized wonders. They’re the perfect mix of cozy and convenient.
Key Takeaways
- Follow a simple 3-step process for consistent results.
- Each cookie measures 2 cm—perfect for sharing or snacking.
- Store-bought convenience without the preservatives, lasting up to 3 days fresh.
- Only 16 calories per cookie makes them a guilt-free treat.
- Customize with optional toppings like sea salt for extra crunch.
Why Mini Chocolate Chip Cookies Are the Perfect Treat
Imagine a dessert that’s as fun to eat as it is easy to make. Mini chocolate chip cookies are a hit at any occasion. They pack big flavor into a tiny package. Their secret? A mix of vanilla pudding adds a chewy texture without extra sugar. Let’s break down why these mini choc chip cookies deserve a spot in your kitchen:

The Appeal of Bite-Sized Desserts
Small chocolate cookies let you savor more without overindulging. A single batch makes 48 treats—perfect for sampling varieties or sharing with friends. Their tiny size also means less guilt, whether you’re baking for a movie night or a midday snack.
Portion Control Benefits
Each cookie is 28 calories—half the calories of many store-bought options. Here’s how they compare:
| Category | Mini Choc Chip Cookies | Traditional Cookies |
|---|---|---|
| Calories per cookie | 28 | 100+ |
| Sugar per cookie | 2g | 10g+ |
| Baking time | 10 minutes | 12–15 minutes |
Lower sugar and quick prep make them a smart choice without sacrificing taste.
Perfect for Sharing and Gatherings
These bite-sized gems shine at parties. Arrange them on a tray for a colorful spread—guests can mix and match flavors. Freeze extras for future get-togethers, and thaw in 1 hour at room temperature. Ideal for last-minute gatherings!
Essential Ingredients for Delicious Mini Chocolate Chip Cookies
Every bite of mini chocolate chip goodies starts with the right ingredients. Let’s break down what makes these tiny chocolate chip biscuits so tasty:

- Butter: Use 12 Tbsp. unsalted butter for rich flavor—you’ll control salt levels later.
- Sugar mix: Combine 3/4 cup brown sugar (moisture) and 1/2 cup granulated sugar (crisp edges).
- Eggs: 1 large egg + 1 yolk adds richness; room temp ensures smooth mixing.
- Flour: 2 cups spooned—not scooped—to avoid dry dough.
- Leaveners: Baking soda (1/2 tsp) and baking powder (1/2 tsp) ensure proper rise.
- Chocolate: 1 1/4 cups mini chocolate chips prevent overwhelming tiny dough portions.
Pro tip: Add 2 tsp vanilla pudding mix to boost flavor and tenderness. Salt (1/2 tsp) balances sweetness, while cornstarch (1 tsp) keeps cookies soft. These precise measurements create cookies just 1-2 inches wide, perfect for sharing or snacking.
Remember: Quality matters. Fresh vanilla extract and real chocolate chips make all the difference. Adjust sugars or add mix-ins like nuts for customization—just keep portions small for that mini chocolate chip goodies charm.
Kitchen Tools You’ll Need for Baking Success
Turning dough into perfect petite chocolate chip treats starts with the right tools. Let’s break down what you need to ensure every mini choco chip snack turns out golden and delicious.
Basic Equipment Requirements
Every baker needs a few essentials. Start with two mixing bowls for separating dry and wet ingredients. A whisk or stand mixer ensures smooth batter, while a spatula scrapes every last bit of dough. Don’t forget parchment-lined baking sheets—nonstick surfaces prevent burning. An oven thermometer guarantees your oven hits the right temperature, avoiding undercooked centers.
Optional Tools That Make Baking Easier
- A 1-tablespoon cookie scoop ensures uniform mini cookies—no guessing sizes.
- Silicone mats cut cleanup time and prevent sticking.
- Digital scales add precision for ingredient ratios.
A cooling rack lets treats cool upright, avoiding sogginess. Even without gadgets, you can use a teaspoon for scooping dough, but tools like a 1-tbsp scoop save time.
Size Guides for Perfect Mini Cookies
Perfect petite chocolate chip treats rely on consistency. Aim for 1–2 teaspoons of dough per cookie—about the size of a nickel. Use a cookie scoop to eliminate guesswork. Overfilling leads to spreading, so stick to the scoop. These guides ensure your mini choco chip snacks bake evenly, whether you’re making 2 dozen or a test batch.
Step One: Preparing Your Mini Chocolate Chip Cookie Dough
Creating perfect mini chocolate chip cookies begins with a great dough. Follow these steps for the right texture and flavor. Every detail matters for these small treats.
Measuring Ingredients Properly
Getting the measurements right is key for consistent results. Use a scale for flour or fill a cup and level it. Make sure butter is soft before mixing. A 1-cup butter measurement helps avoid greasy cookies. Sugar should be packed tightly for even sweetness.
Mixing Techniques for Perfect Texture
Cream butter and sugars on medium speed until fluffy, about 1 minute. Add an egg and vanilla, mixing until just combined. Then, add dry ingredients slowly, stopping before fully mixing. Fold in ¾ cups mini chocolate chips gently with a spatula. Avoid overmixing to prevent tough cookies.
Chilling the Dough: Is It Necessary?
Chilling the dough for 30 minutes improves flavor and texture. If you’re short on time, you can skip it. But expect thinner cookies. Store the dough in an airtight container in the fridge. If baking the same day, room-temperature dough works fine.
By following these steps, you’ll have dough that holds its shape well. Proper preparation ensures your mini chocolate chip cookies are tender and full of chocolate. Now, learn how to shape them perfectly.
Step Two: Shaping and Sizing Your Mini Choc Chip Cookies
Getting the shape and size right is key for even baking of your mini choc chip cookies. Use a small cookie scoop or measuring spoon to make 1–2 teaspoon portions. Each portion should be about the size of a nickel.
Roll the dough into balls and place them 1.5 inches apart on parchment-lined sheets. Try to get 24–35 cookies on a standard sheet for even baking.
- Scoop & Roll: A 1 tsp measure or #40 scoop keeps portions consistent.
- Piping Option: Use a disposable piping bag with a ½-inch tip for clean edges.
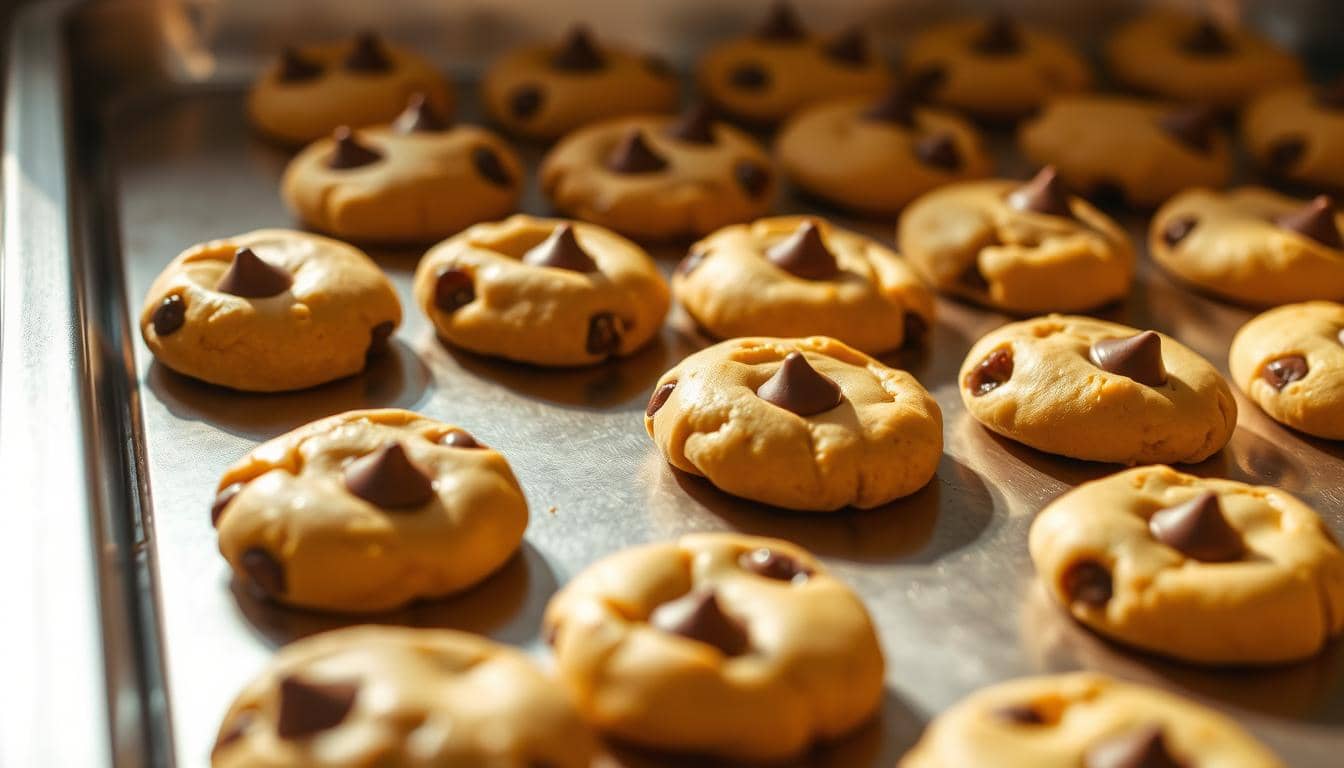
- Top with Extra Chips: Press a few chocolate pieces into the tops before baking for visual appeal.
For uniform cookies, chill the dough balls briefly if they spread too much. Remember, bite-sized chocolate chip treats need precise spacing to avoid merging. Stick to 400°F and 6–7 minutes for golden edges. Need help? Baking experts advise:
“Consistency starts with how you shape—size equals success.” — The Cookie Collective
Pro tip: Freeze unbaked dough balls on a tray first, then transfer to a freezer bag for later batches. This step maintains shape integrity when thawing.
Step Three: Baking Your Petite Chocolate Chip Treats to Perfection
Once your dough is ready, mastering the baking process ensures your petite chocolate chip treats turn out perfectly every time. Here’s how to get it right:
Temperature Considerations
Preheat your oven to 350°F (175°C) and wait until it reaches the full temperature. Use an oven thermometer to confirm accuracy. Silicone baking mats or parchment paper prevent sticking but may bake slightly slower than metal pans. Adjust times if your oven tends to run hot or cold.
Timing for Different Textures
- Chewy: Bake for 5-6 minutes—edges just golden, centers soft.
- Crispy edges: Add 1-2 extra minutes, watching closely.
- Test one cookie first to match your oven’s performance.
How to Know When They’re Done
Remove trays when edges are golden and centers look underbaked—they’ll firm up as they cool. Overbaking makes small chocolate cookies dry, so err on the side of underdone. Let them rest on the pan 2 minutes before transferring to a rack.
Adjust timing based on pan placement (top vs. middle rack) and batch size. For large batches, rotate trays halfway through baking for even results.
Troubleshooting Common Issues With Mini Chocolate Chip Cookies
Perfect mini chocolate chip goodies start with troubleshooting. Let’s tackle three common problems and how to fix them fast.
“The sweet spot in my oven is baking one tray at a time for 7 minutes.”
| Problem | Solution |
|---|---|
| Cookies spreading too much | Chill dough 30+ minutes. Use cold butter. Add 1-2 tbsp flour. |
| Texture too hard/soft | Adjust baking time by ±1-2 minutes. Check oven temperature accuracy. |
| Uneven baking | Rotate pans halfway. Use parchment paper. Let sheets cool between batches. |
Overmixing can cause toughness—stop creaming after 2 minutes. Use all-purpose flour instead of cake flour for structure. For tiny chocolate chip biscuits, always measure flour by spoon-and-level method. Overcrowded sheets? Space dough 2 inches apart. Dark pans bake faster—lower heat by 25°F if needed.
- Too much butter? Reduce by 1 tbsp per cup of flour.
- Overdone edges? Cover edges with foil mid-bake.
- Stickiness? Cool cookies fully before storing.
Remember: A 40% reduction in spread happens when dough is chilled. Adjust 1 variable at a time when testing fixes. Happy baking!
Creative Variations to Try With Your Tiny Chocolate Chip Biscuits
Try new things with tiny chocolate chip biscuits by adding colorful ingredients or changing flavors. Mix in mini M&Ms or chopped nuts like pecans for a crunchy feel. Add sprinkles or cinnamon for a festive look. Here’s how to make your mini choco chip snacks even better:
- Flavor twists: Add orange zest for a bright taste or espresso powder for deeper chocolate.
- Texture upgrades: Coat dough in coarse sugar for a sparkly crust or add mini marshmallows for gooey centers.
- Seasonal adaptations: Use peppermint pieces for winter or dried cranberries in autumn.
| Variant | Key Ingredients | Tips |
|---|---|---|
| Vegan | Applesauce, coconut sugar | Use flaxseed for binding |
| Gluten-Free | Almond flour, xanthan gum | Chill dough to firm up |
| Keto | Almond flour, erythritol | Monitor baking time closely |
| French Sablé | Dark chocolate, flaky salt | Pair with premium ingredients for gourmet flair |
Be creative with toppings! Try drizzling melted Ghirardelli chocolate or dusting with sea salt. For a sweet twist, sandwich two mini choco chip snacks with frosting or Nutella. Remember, add-ins should be ¼ cup per batch to avoid dough overcrowding. These tiny treats are perfect for any occasion, from picnics to holiday spreads. Your creativity is the only limit!
How to Store Your Mini Choco Chip Snacks
Keeping your homemade mini choc chip delicacies fresh is key. Whether you’re saving leftovers or preparing for a party, these tips will help.
| Storage Method | Max Shelf Life | Pro Tips |
|---|---|---|
| Room Temperature | 3-5 days | Use airtight containers. Layer with parchment paper. Add bread slice to retain moisture. |
| Refrigerator | 1 week | Wrap in plastic. Store in sealed jars. Keep away from strong-smelling foods. |
| Freezer | 3 months | Flash freeze dough first. Double-wrap baked cookies. Label with dates. |
Counter Storage Basics
For short-term storage, use glass jars or resealable bags. Follow these steps:
- Let cookies cool completely before storing.
- Place parchment between layers to avoid sogginess.
- Replace the bread slice every 3 days to maintain softness.
Freezing Dough or Baked Goods
For longer storage, freeze dough or cooled cookies:
- Flash-freee dough balls on a lined tray before bagging.
- Wrap baked cookies in double plastic wrap before freezing.
- Add baking powder to dough before freezing for consistent rise.
Event Prep Strategies
Baking for parties? Follow these steps:
- Portion dough into 1-teaspoon balls for uniform baking.
- Flash-freee dough portions on a parchment-lined tray first.
- Use small containers for easy portion control at gatherings.
“The best storage keeps your cookies as fresh as the first bite.” — Baking Expert
Always let frozen cookies thaw at room temperature 1–2 hours before serving for best texture.
Nutritional Information and Dietary Adaptations
Enjoy mini chocolate chip cookies mindfully with this breakdown of nutritional details. A serving of 2 bite-sized chocolate chip treats has 102 calories, 15g carbohydrates, and 6g sugar. These small portions let you enjoy treats without overdoing it.
- Gluten-free option: Swap all-purpose flour with 1¾ cups gluten-free blend for safe baking.
- Vegan version: Use coconut oil and flax eggs (1 tbsp flax + 3 tbsp water) instead of butter and eggs.
- Reduced sugar: Substitute ½ cup coconut sugar for ⅓ cup maple syrup to cut sweetness.
- Dairy-free: Opt for dairy-free chocolate chips and plant-based margarine.
Each cookie has 1g fiber and 10mg calcium, with 14% DV iron per 2-cookie serving. Nut-free options are possible by using nut-free chocolate chips. For egg-free diets, the recipe’s eggless base eliminates salmonella risk. Always store ingredients separately to avoid cross-contamination.
These adjustments keep mini chocolate chip cookies tasty while accommodating diverse needs. Adjustments like olive oil or coconut sugar preserve texture while aligning with dietary goals.
Fun Ways to Serve Your Mini Chocolate Chip Goodies
Transform your mini chocolate chip goodies into the main attraction with these fun serving ideas. Whether it’s a party or a cozy treat time, these tips will make your cookies unforgettable.
Pairing Suggestions
- Enjoy mini choc chip cookies with cold milk, hot cocoa, or spiced cider.
- Try a “cookie flight” with drinks like matcha latte, dark chocolate wine, or vanilla chai.
- Top cookies with vanilla ice cream or caramel sauce for a special treat.
Creative Presentation Ideas
Enhance your display with these creative ideas:
- Display cookies on a tiered platter with fruits and dark chocolate truffles.
- Warm mini chocolate chip goodies in mini mason jars with sea salt.
- Fill edible cookie cups with chocolate mousse or frozen yogurt for a fun dessert.
Kid-Friendly Serving Options
Engage kids with these fun ideas:
- Set up a “cookie sundae bar” with toppings like sprinkles and melted chocolate.
- Put cookies in mini treat bags with a note for school lunches.
- Let them decorate cookies with extra chocolate chips before baking.
Pro tip: Sprinkle flaky salt on warm cookies for a salty-sweet surprise. It’s perfect for impressing guests or making kids happy!
The History and Evolution of Chocolate Chip Cookies
Did you know a simple mistake in the kitchen started a baking revolution? In 1938, Ruth Wakefield at the Toll House Inn made the first chocolate chip cookies by mistake. She used chopped Nestlé chocolate instead of baking chocolate. This happy accident led to a partnership with Nestlé and the introduction of pre-measured chocolate morsels in the 1940s.
By the 1980s, cookie culture boomed with over 1,200 cookie stands across the country. This made chocolate chip cookies a beloved part of American culture.
As time went on, bakers started making smaller cookies. Today, small chocolate cookies are all the rage, thanks to the 1990s focus on portion control and presentation. These mini choc chip delicacies are now a hit in trendy bakeries like Pennsylvania’s Taylor Chip, which ships fresh cookies every day.
Innovations have brought vegan chocolate chips and over 30 flavor options. This shows how these treats have stayed popular over the years.
- Ruth Wakefield’s 1938 Toll House recipe used brown sugar for chewy texture
- Nestlé’s 1940s chocolate morsels streamlined home baking
- Modern trends emphasize artisanal versions like dark chocolate or sea salt infusions
Every time you bake, you connect to over 85 years of baking tradition. From WWII care packages to today’s Instagram-worthy mini versions, these treats are a comfort food favorite. Next time you make mini choc chip delicacies, remember you’re part of a story that began with one chef’s creative solution.
Why Smaller Cookies Often Taste Better Than Regular Ones
Ever wonder whypetite chocolate chip treatsfeel more satisfying? Science holds the secret. Smaller portions bake faster, keeping moisture and texture in. Let’s explore whysmall chocolate cookiespack a big punch of flavor.
The Science Behind Texture Differences
- Mini size ensures even heat distribution, avoiding dry centers.
- Crispy edges form quickly, while the middle stays soft and gooey.
- Less time in the oven (8-10 minutes at 350°F) prevents overbaking.
Flavor Concentration in Mini Treats
- More surface area means deeper caramelization (Maillard reaction) for richer taste.
- Higher chocolate-to-dough ratio ensures every bite bursts with chocolate.
- Mini chips melt evenly, creating a balanced flavor profile.
Think of it this way: smaller portions mean no wasted space—every crumb counts. Next time you bake, try thesepetite chocolate chip treatsand taste the difference! Your taste buds (and guests) will thank you.
Conclusion: Enjoying Your Homemade Mini Chocolate Chip Delicacies
When your oven timer goes off, and your mini chocolate chip cookies are done, you’ve made something special. These small treats are great for parties, gifts, or a quick snack. The recipe’s high rating shows just how much people love them.
Each batch makes about 24 cookies, ready in under 30 minutes. This makes them perfect for any event. Serve them with milk or give them away in jars to impress your friends.
Their 9–11 minute bake time gives them crispy edges and a gooey center. The 2 cups of chocolate chips add to their deliciousness. Make sure to bake them at 375°F for the right texture. Share your creations on social media and tag #MiniCookieMagic.
Try adding flavors like sea salt or mint chocolate to your cookies. But always chill the dough if the butter gets too warm. Store leftovers in airtight containers for up to 4 days or freeze the dough for later. With 213 calories per cookie, they’re a sweet treat you can enjoy without guilt.